The Best New Auto Curler on the Market
*Sponsored by Conair and ShopStyle
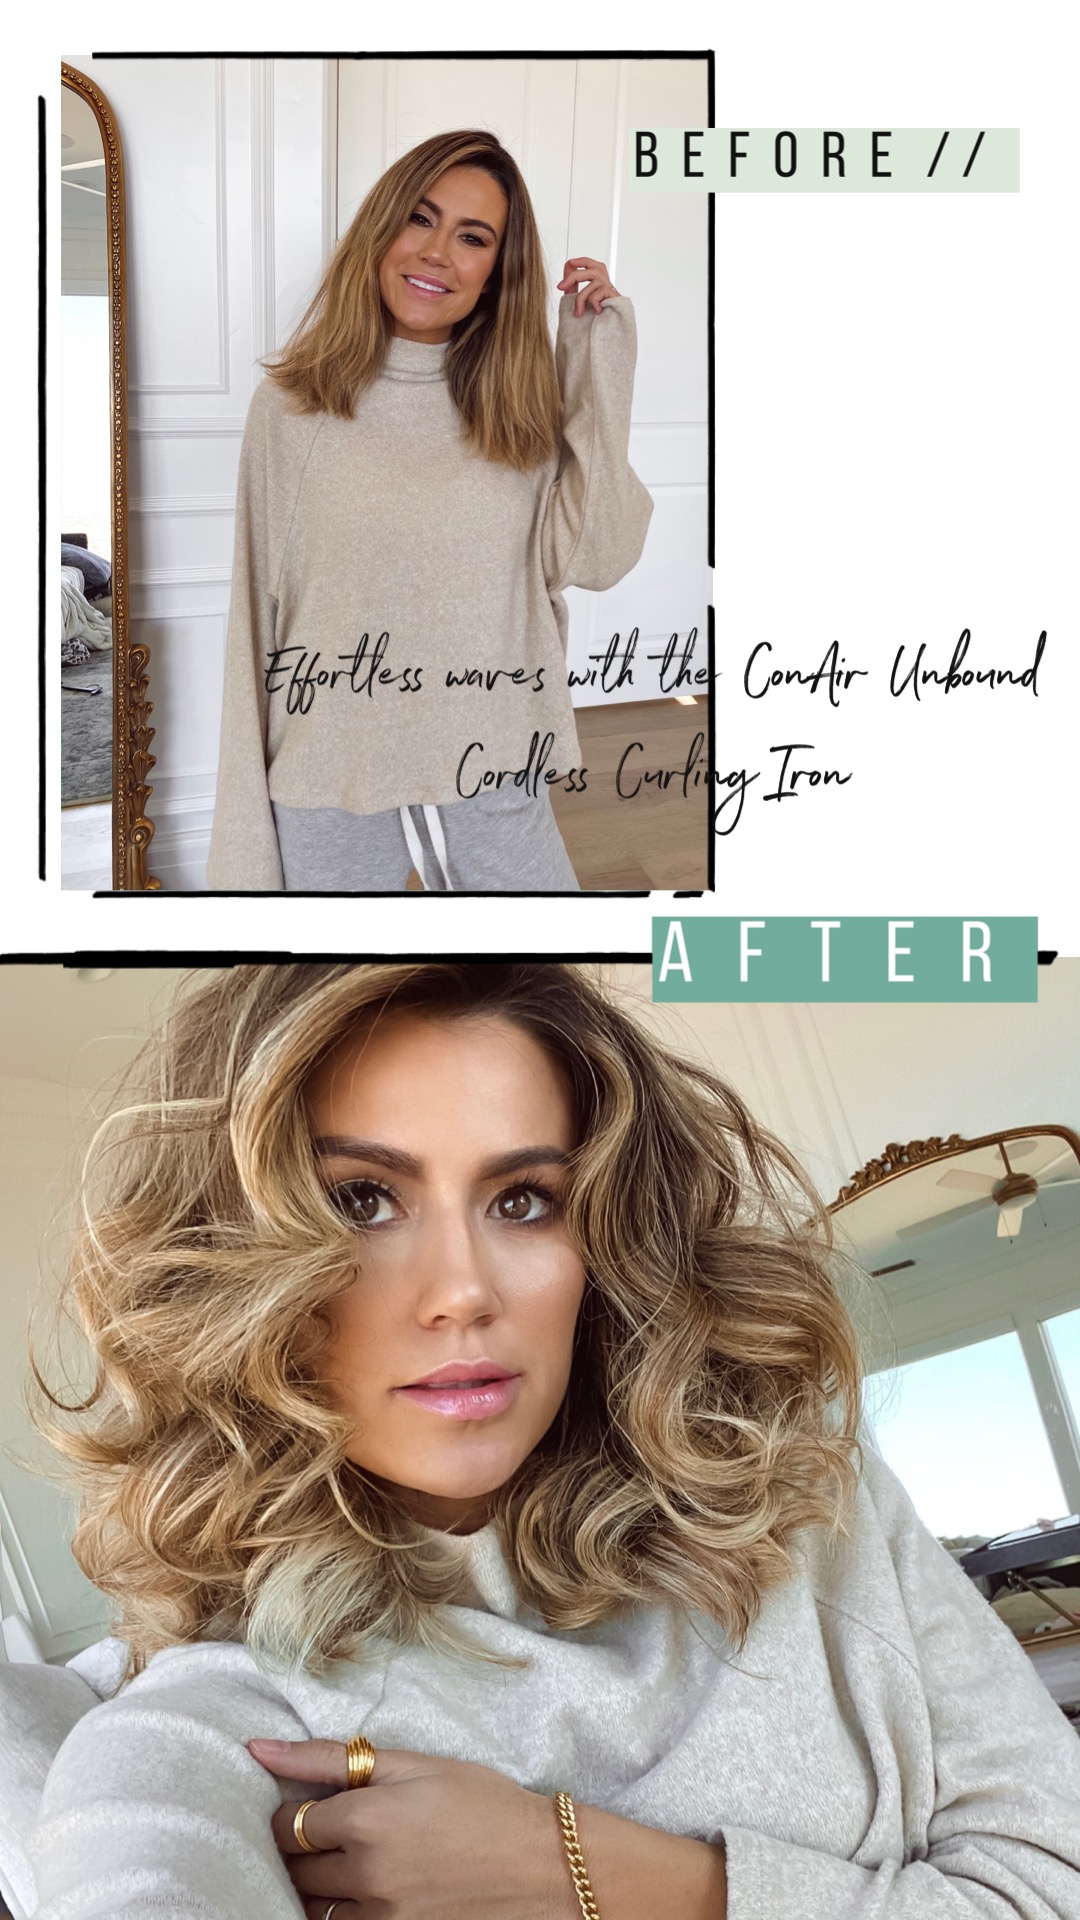
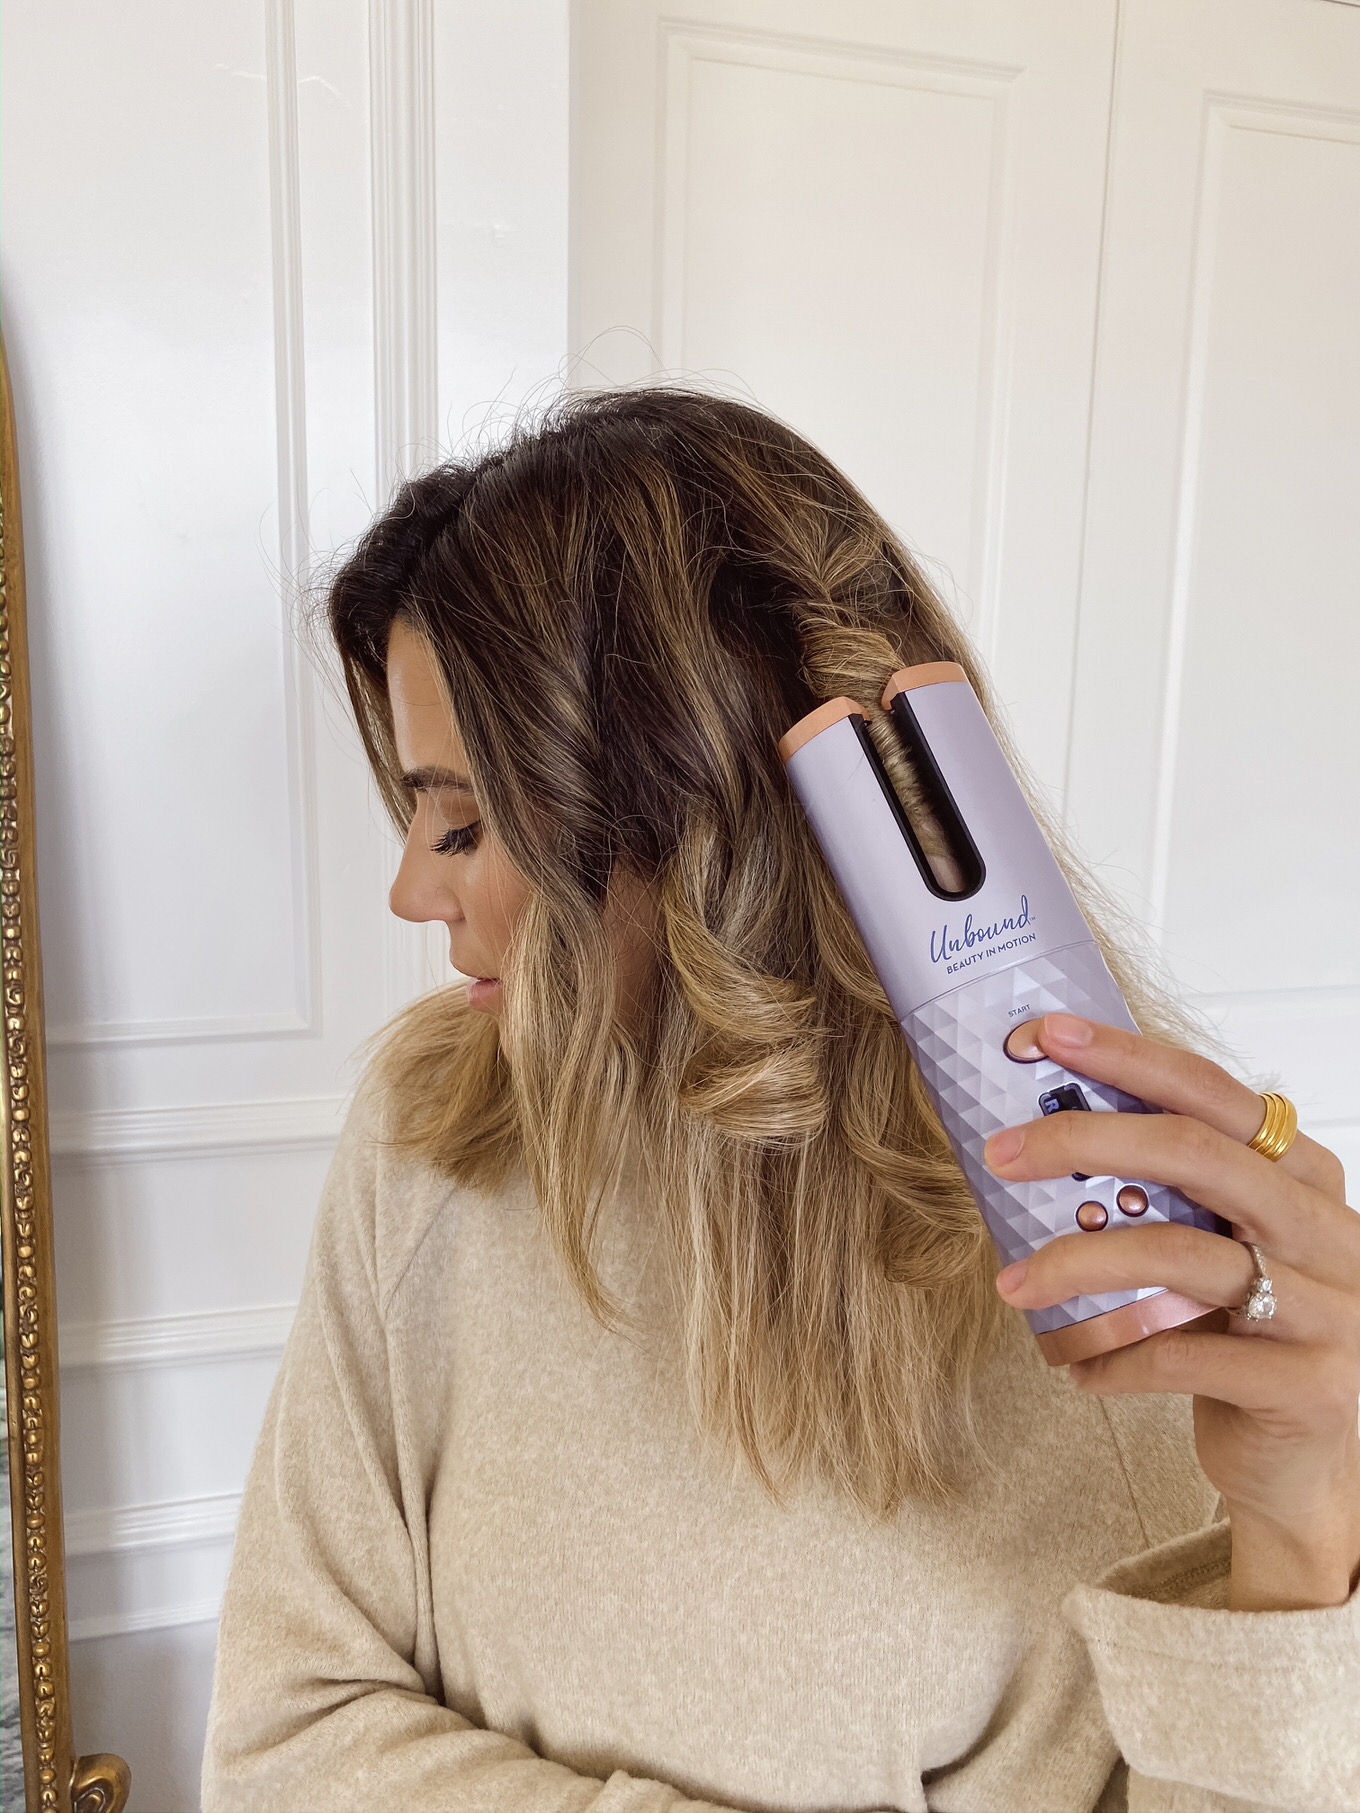
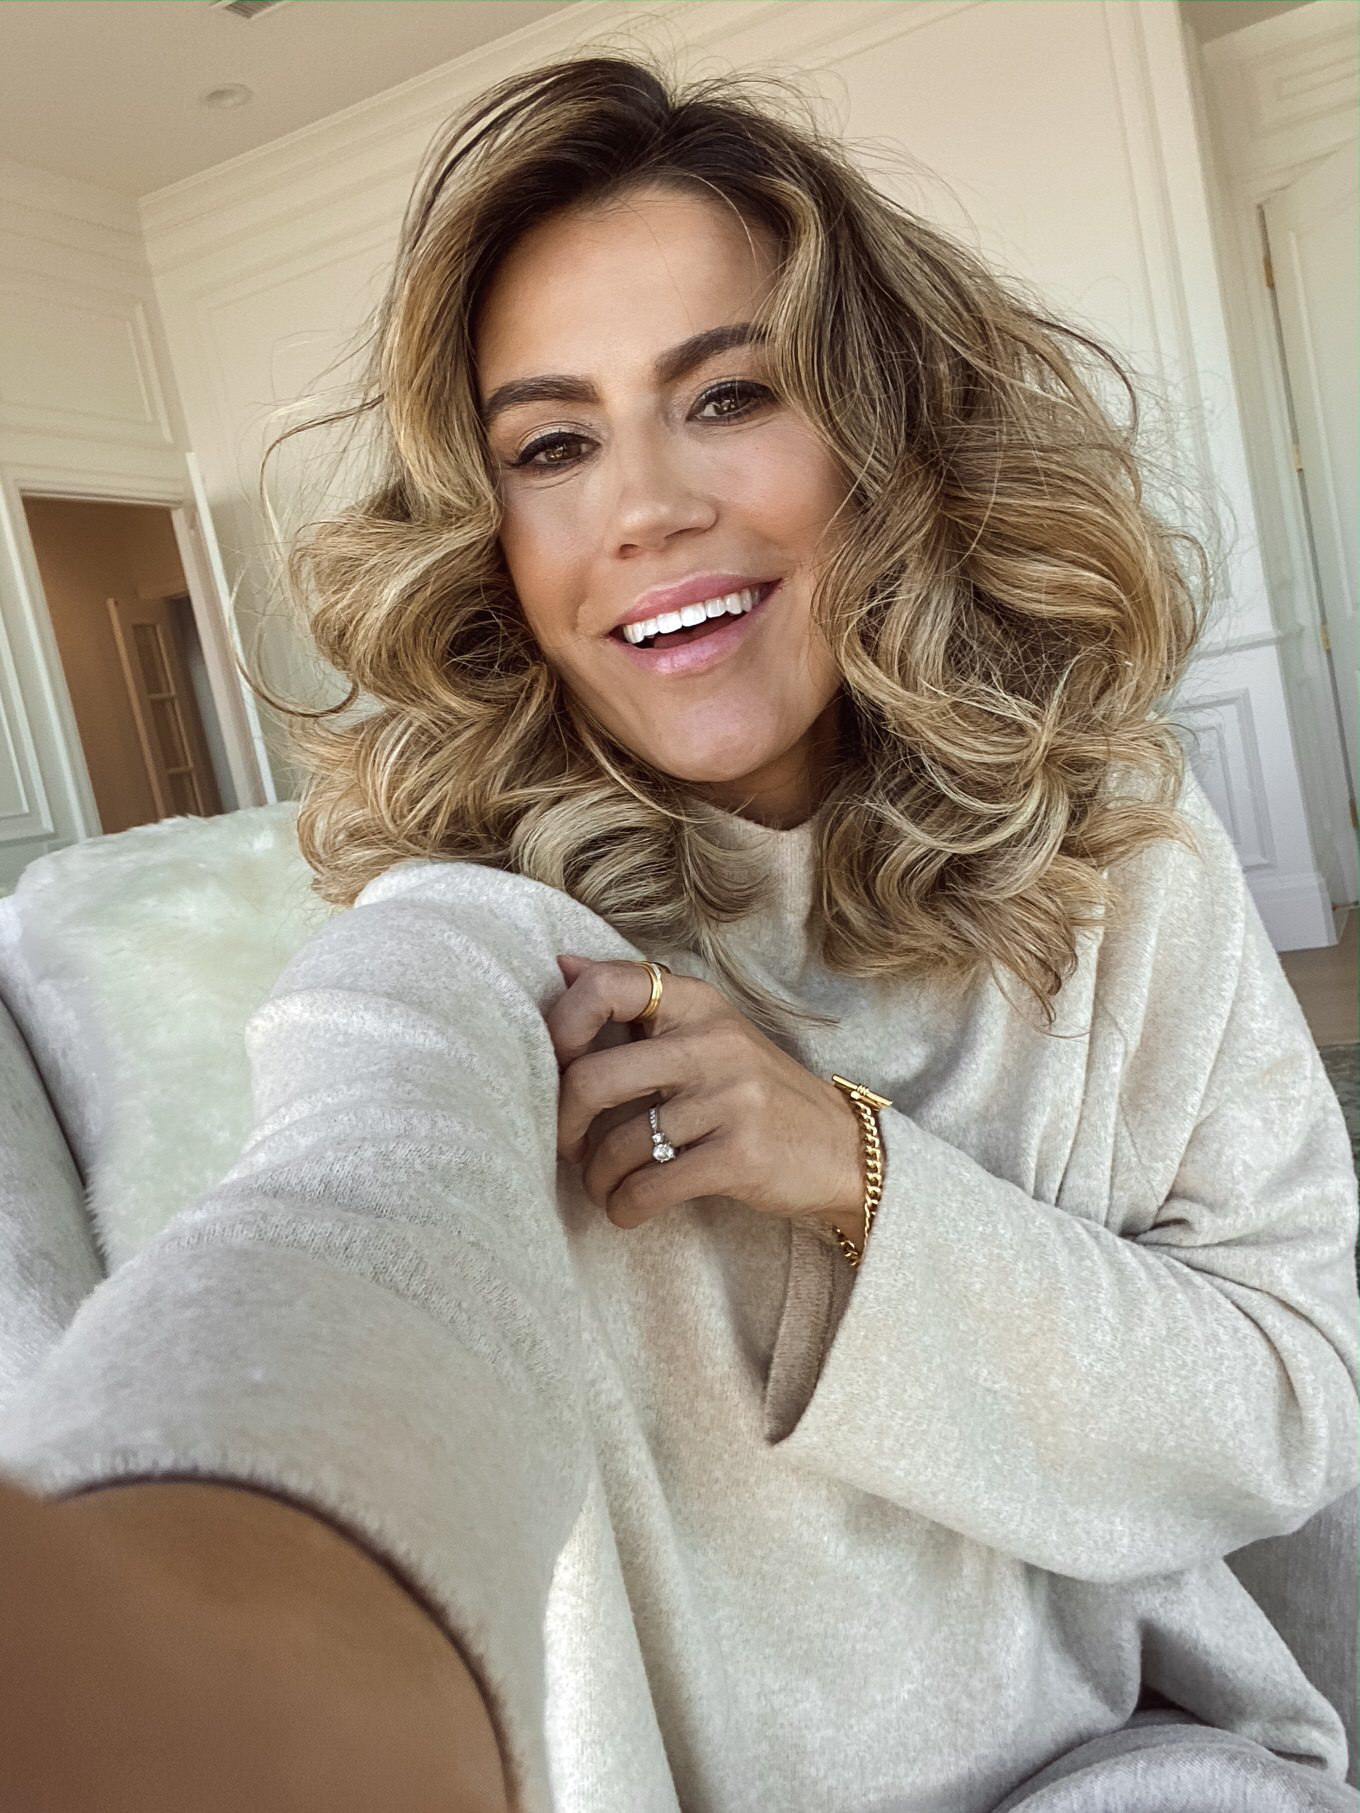
I didn’t realize how long it’s been since I shared a hair tutorial or even more how long it’s been since I’ve actually curled my hair! After sharing these curls last week I wanted to put together a step by step so you can recreate my look. Conair just launched their UNBOUND Cordless Auto Curler and it makes it really easy to get your favorite curls on the go. Keep reading to learn how to get this look:
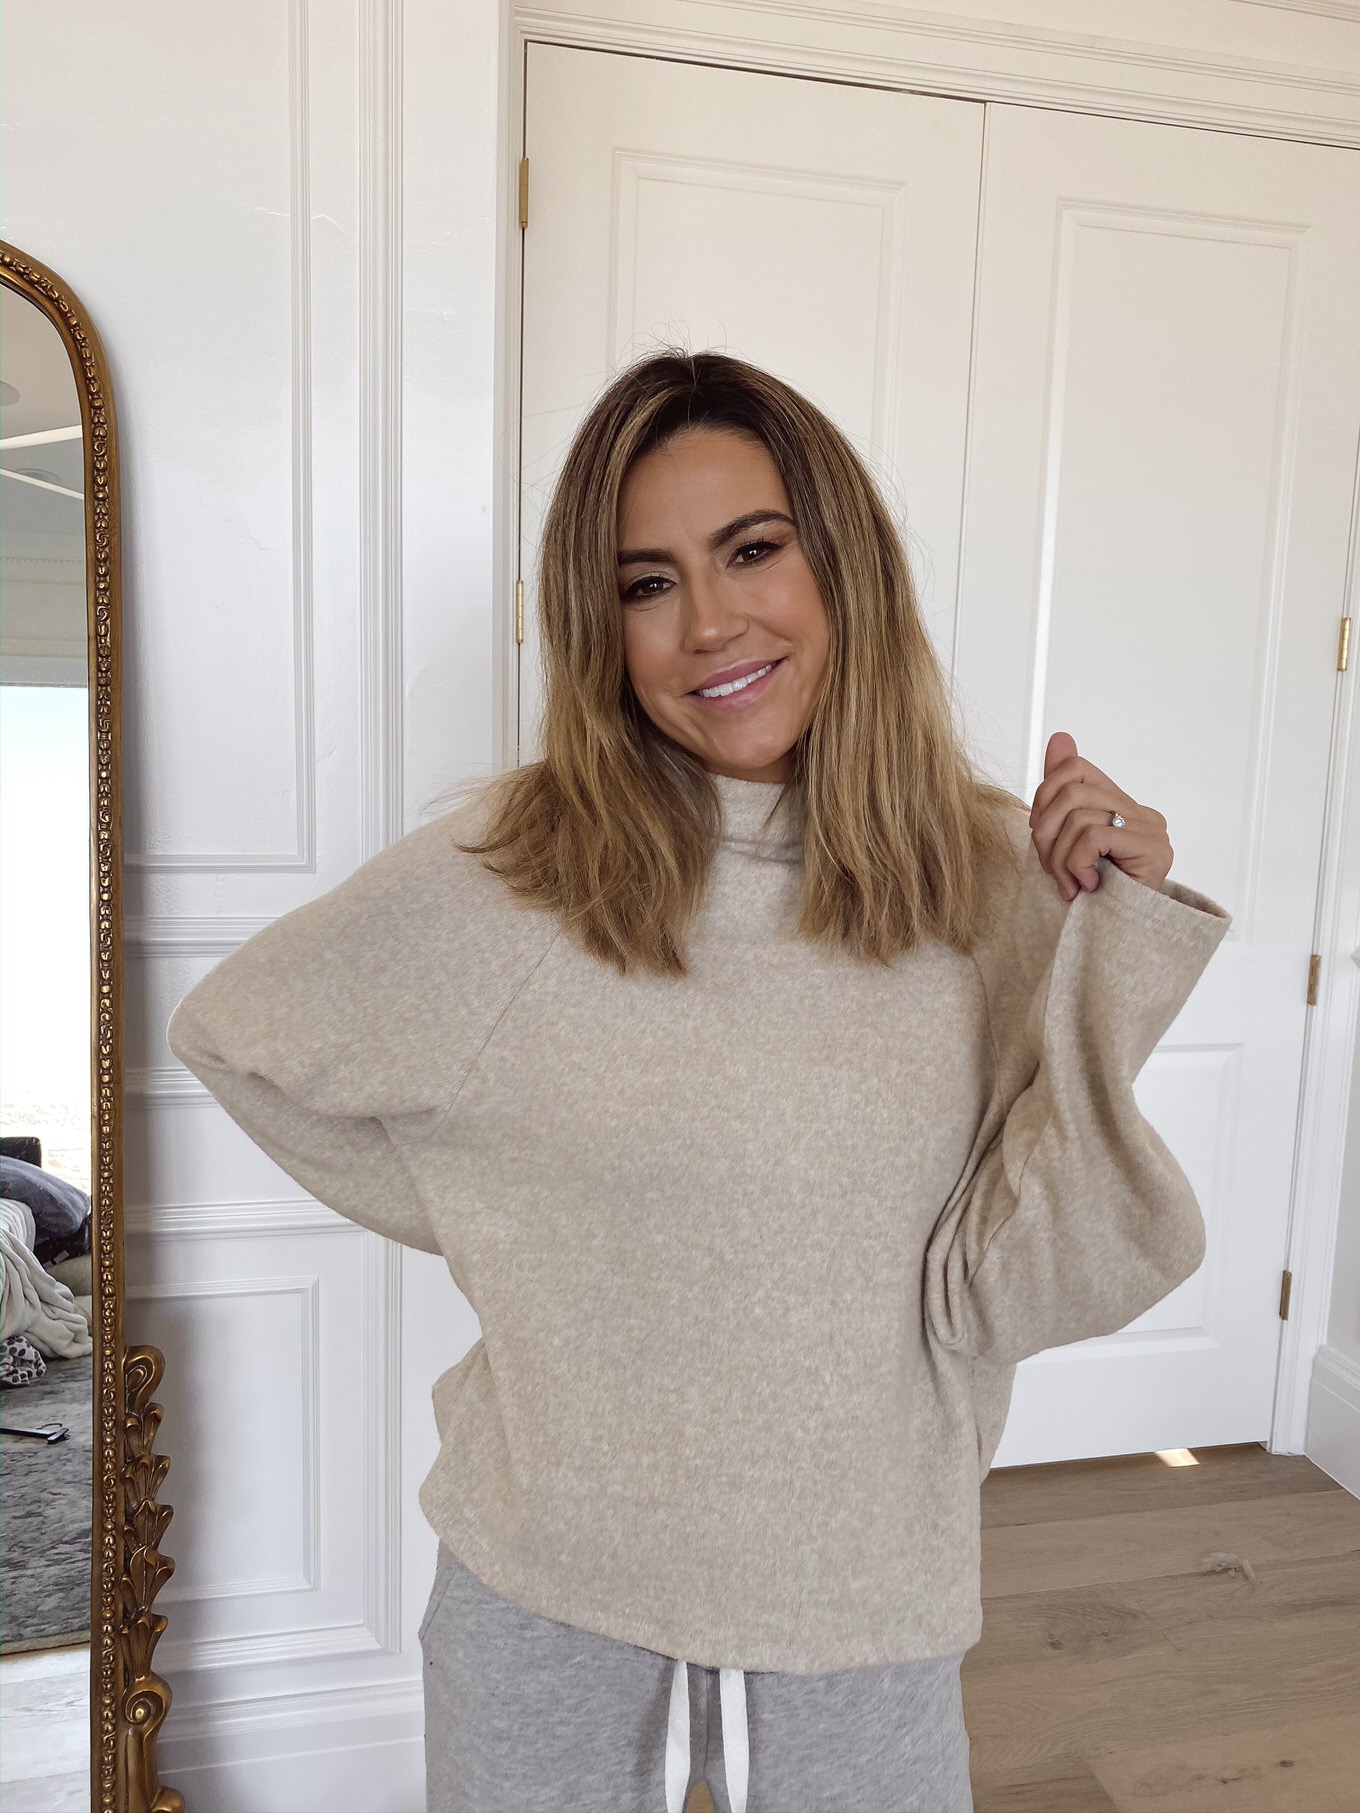
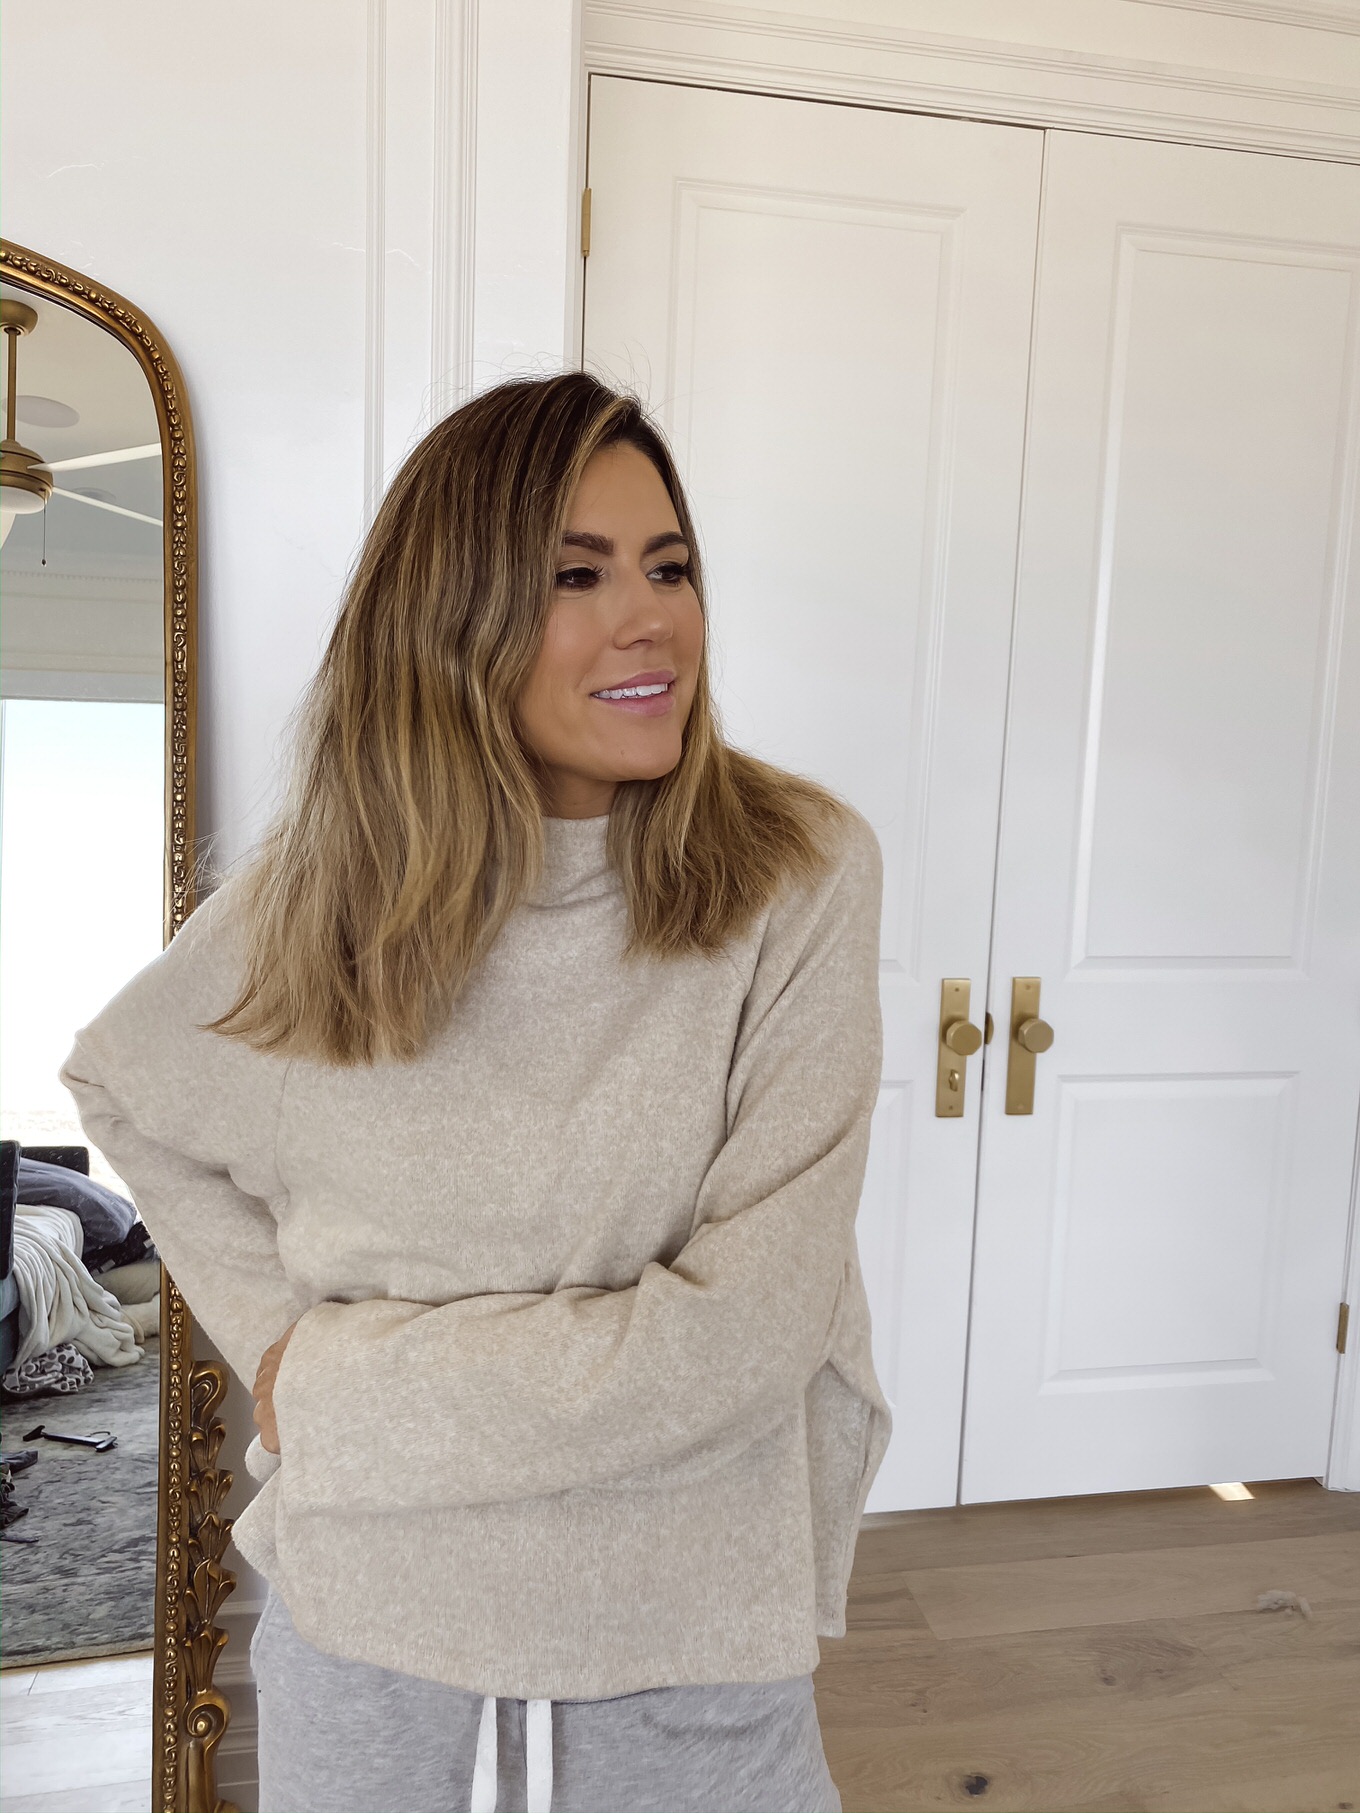
(My hair before)
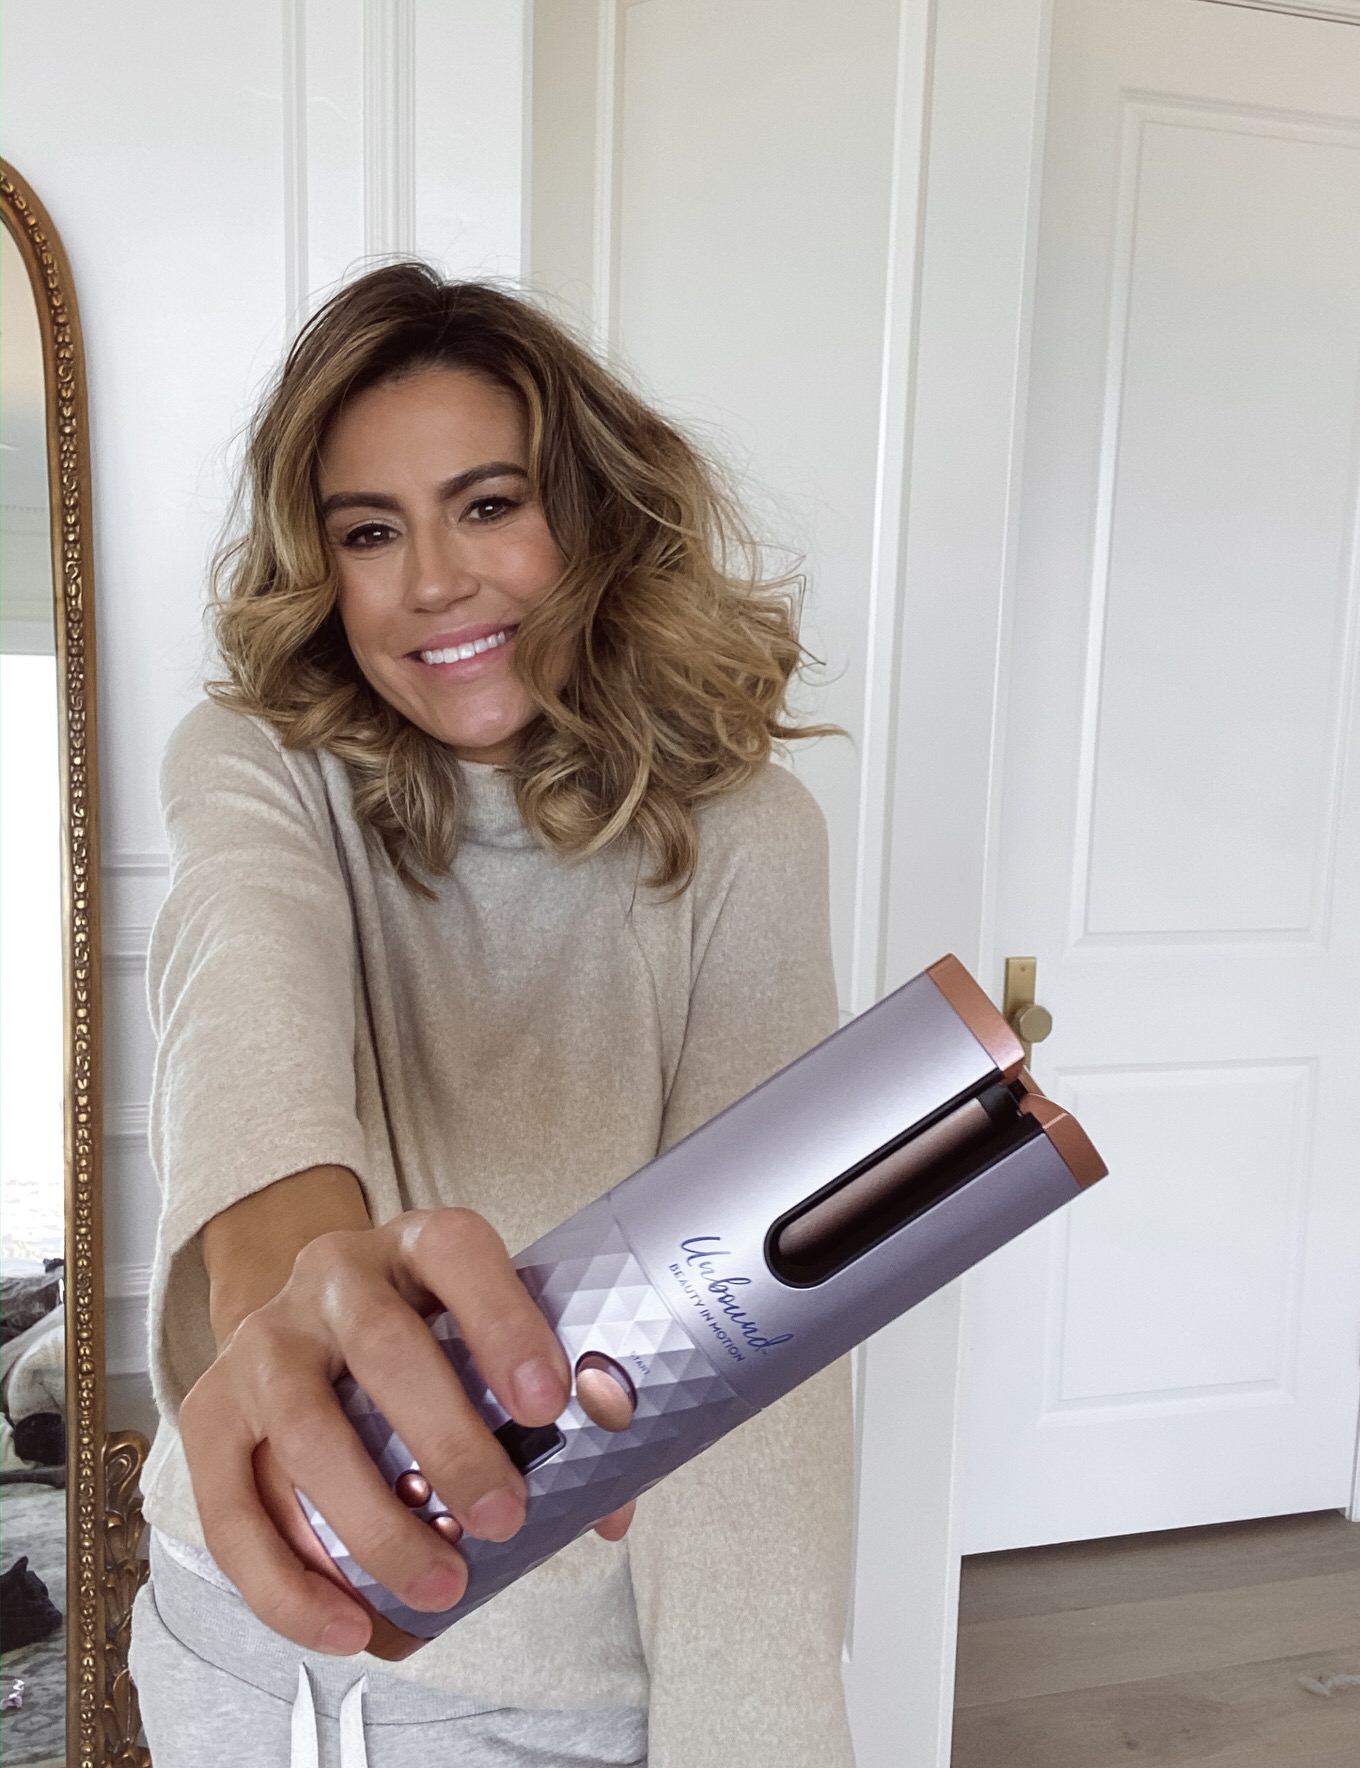
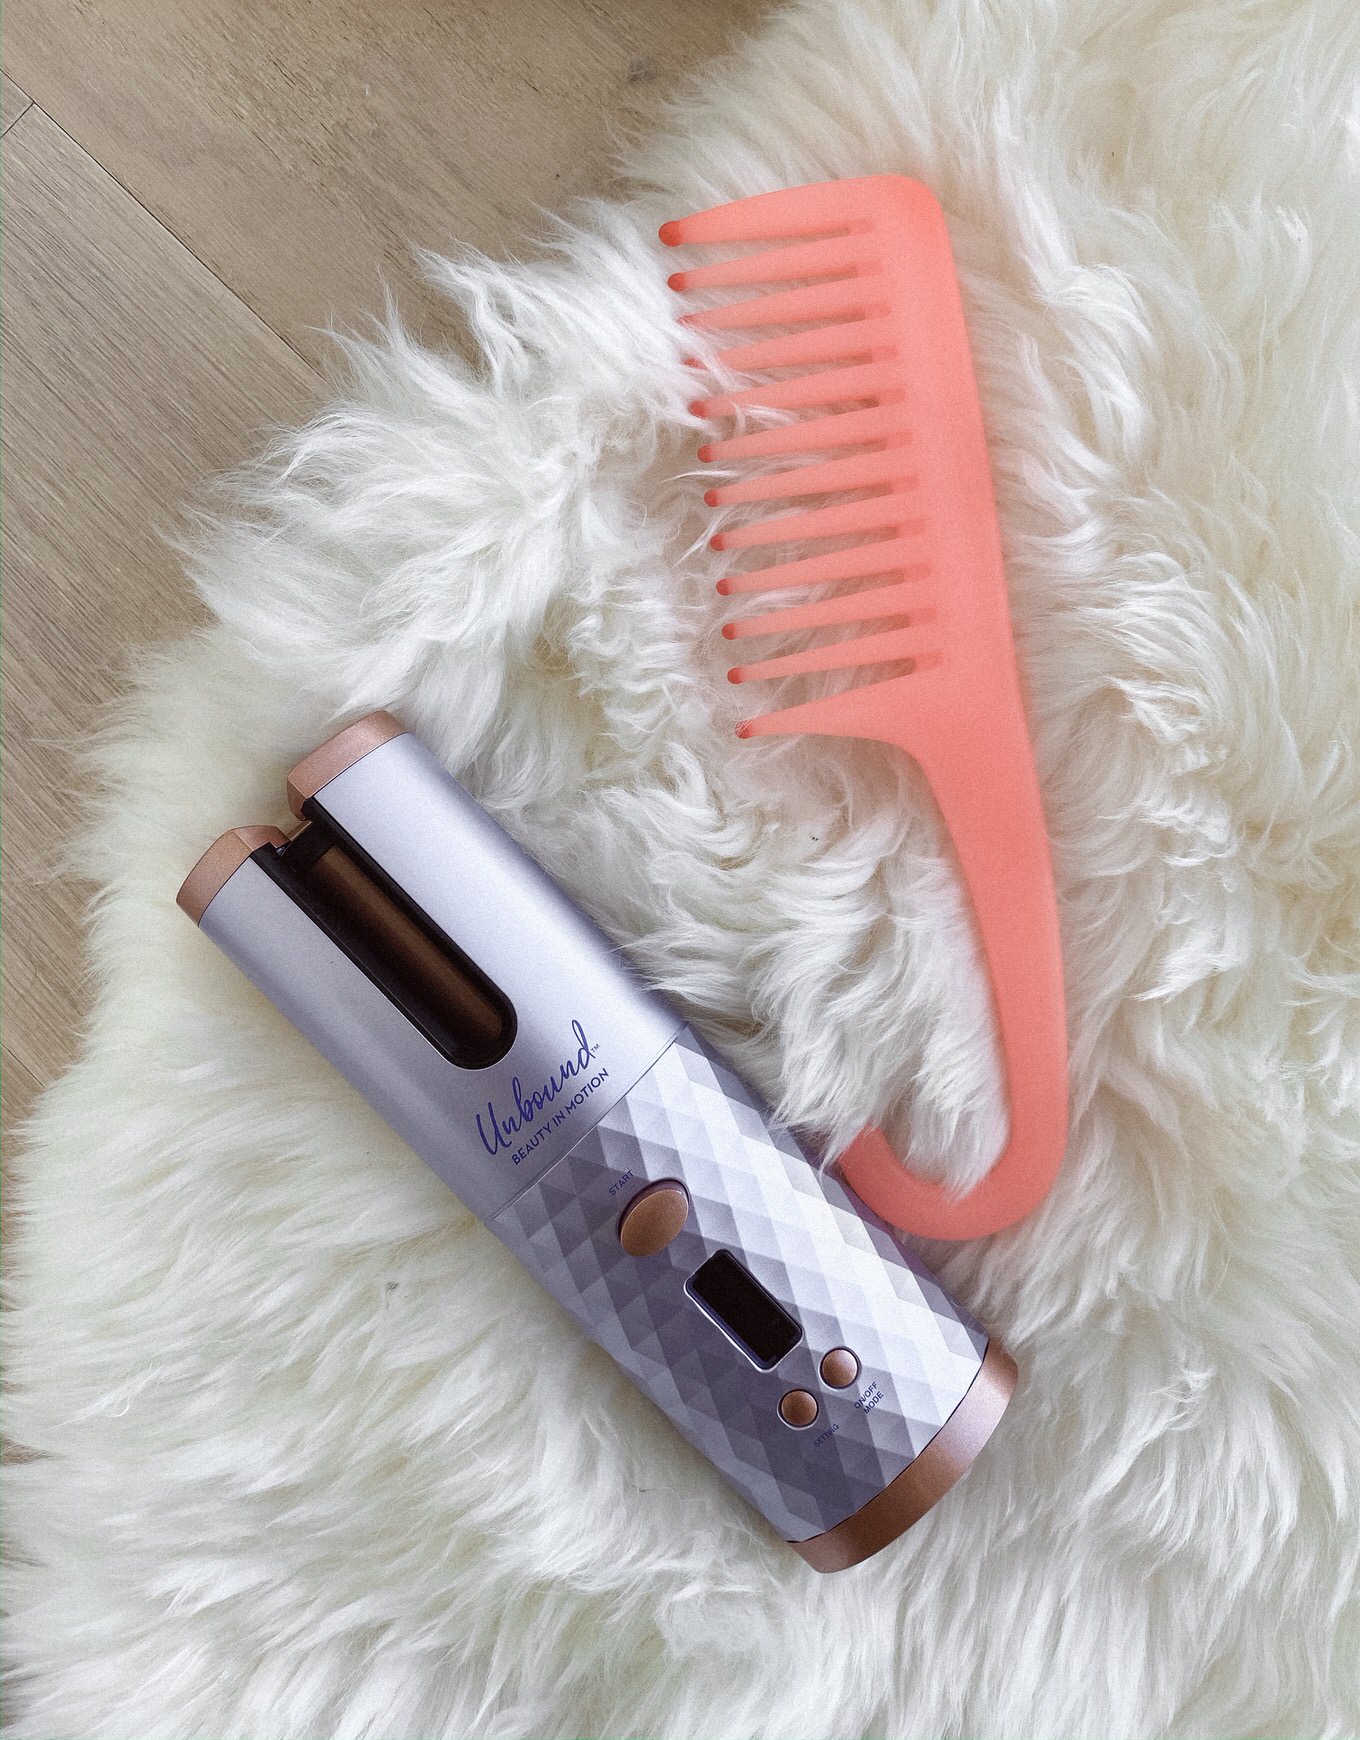
Hands down the best part about the UNBOUND Auto curler is that you can curl your hair anytime, anywhere. You just charge it and throw it in your purse, suitcase, car, ANYWHERE, and you can pull it out and do a full look, or touch up your curls out and about.
How many times have you burned yourself with your curling iron? Since there’s a curl chamber, this one makes it next to impossible to burn yourself and it made me think it would be perfect for Mara to start learning to curl her hair. Such a great gift idea for the holidays too!
Settings: 400° for 12 seconds
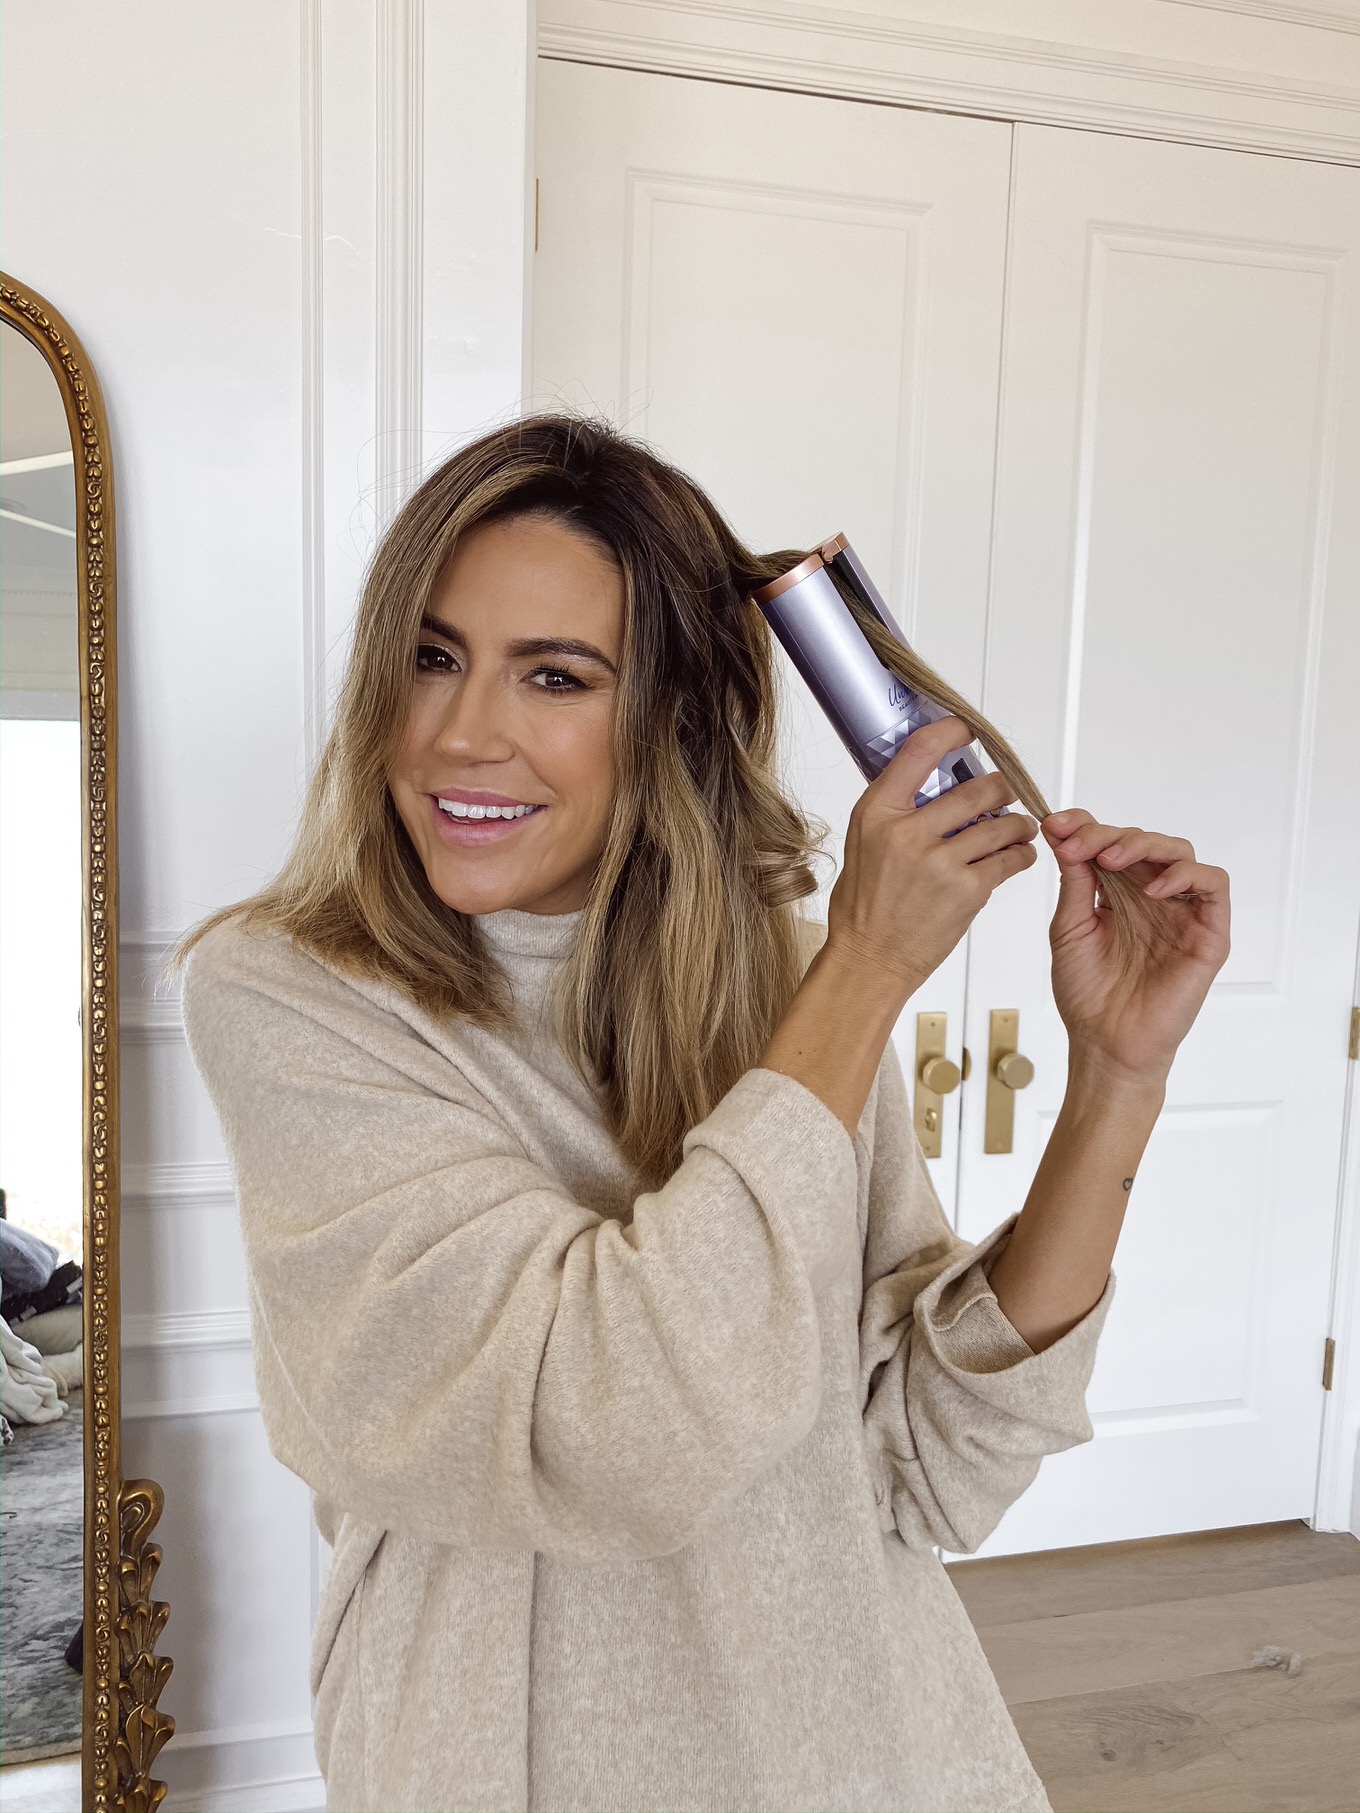
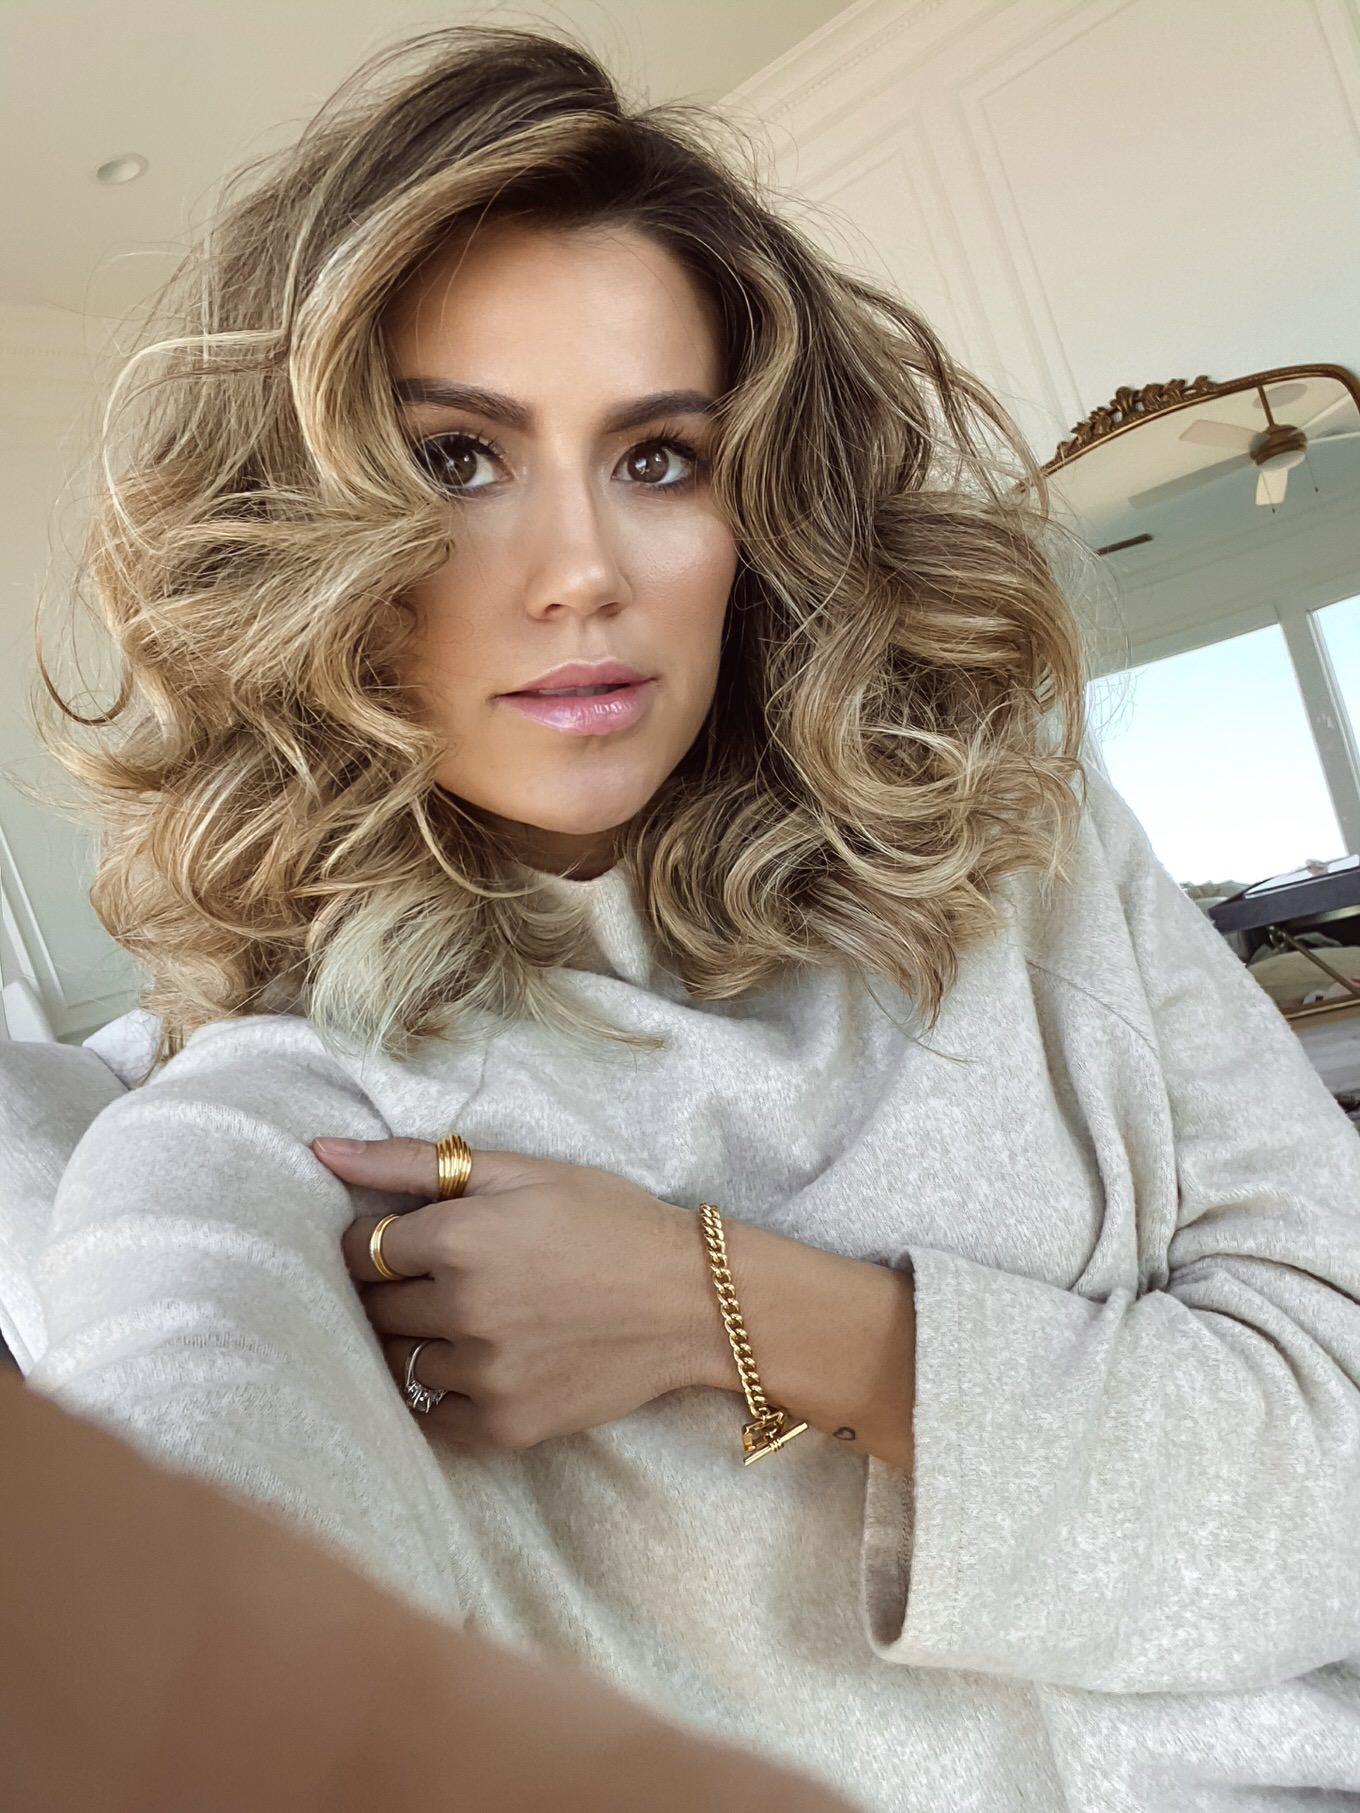
The UNBOUND Cordless Auto Curler has multiple heat and timer settings that you can adjust to get your go-to curls or to switch it up if you want to try something new. Between my extensions and coloring, my hair is pretty dry right now, so I set mine to 400° for 12 seconds. If your hair isn’t as dry, I would try 1-2 temperature settings lower for 10 seconds to get these curls. (For tighter curls, set the temperature high and timer longer, or for looser waves, keep the temperature low and select a shorter timer setting.) When in doubt, take a few strands of your hair and test different temperature and timer settings until you figure out what you’re in the mood for that day.
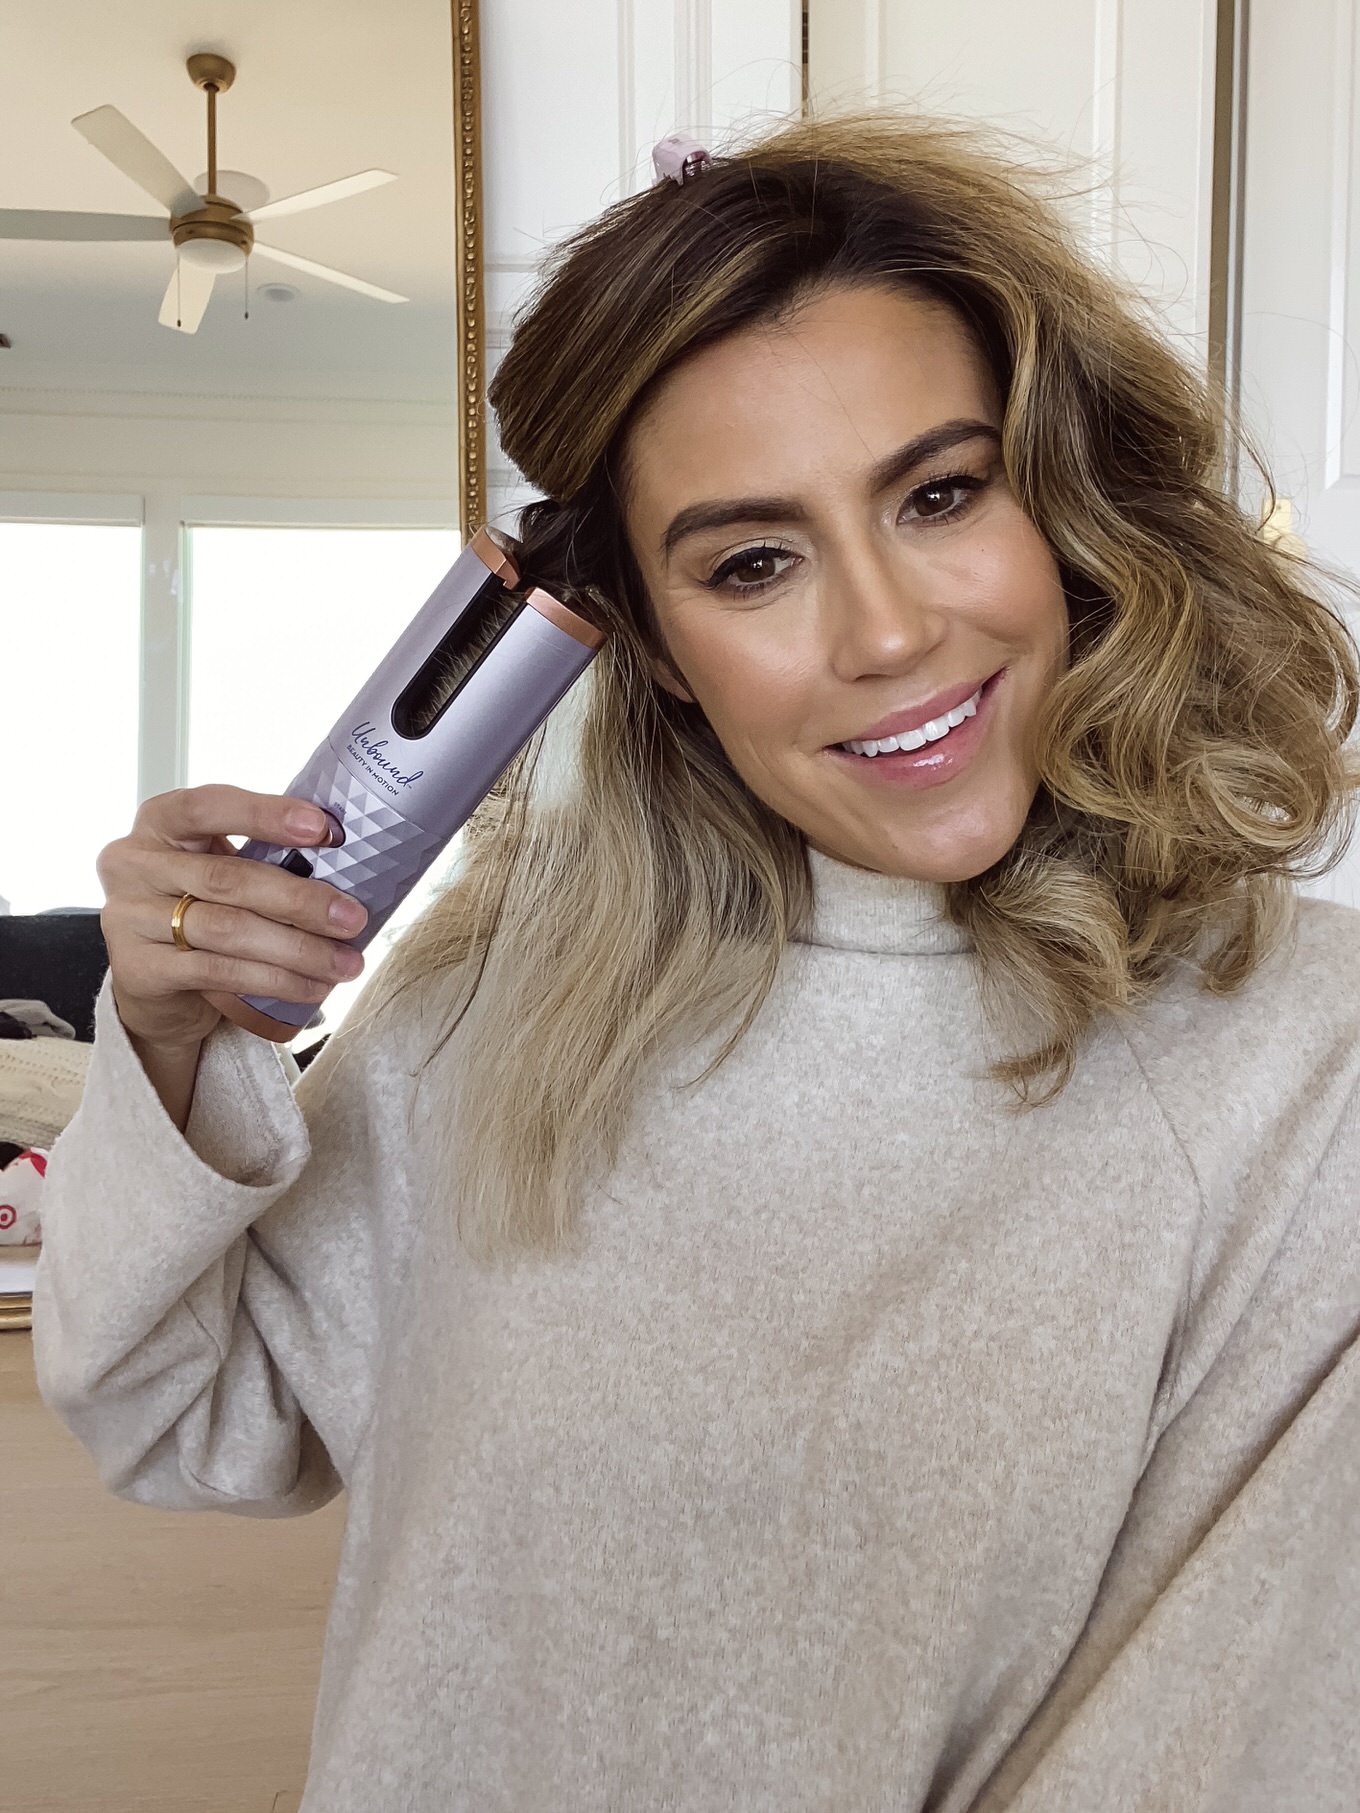
Curl Direction: Left, Right, or MIX
There’s also an option to curl right, left, or mix, which allows you to control if you you want to curl away from or towards your face. For this look I curled away from my face, so when I’m curling on the right side of my face, I select L (left) direction and when curling on the left side of my face, I select the R (right) curl direction. There’s also a ‘MIX’ option which automatically alternates between the two for a messy, undone look.
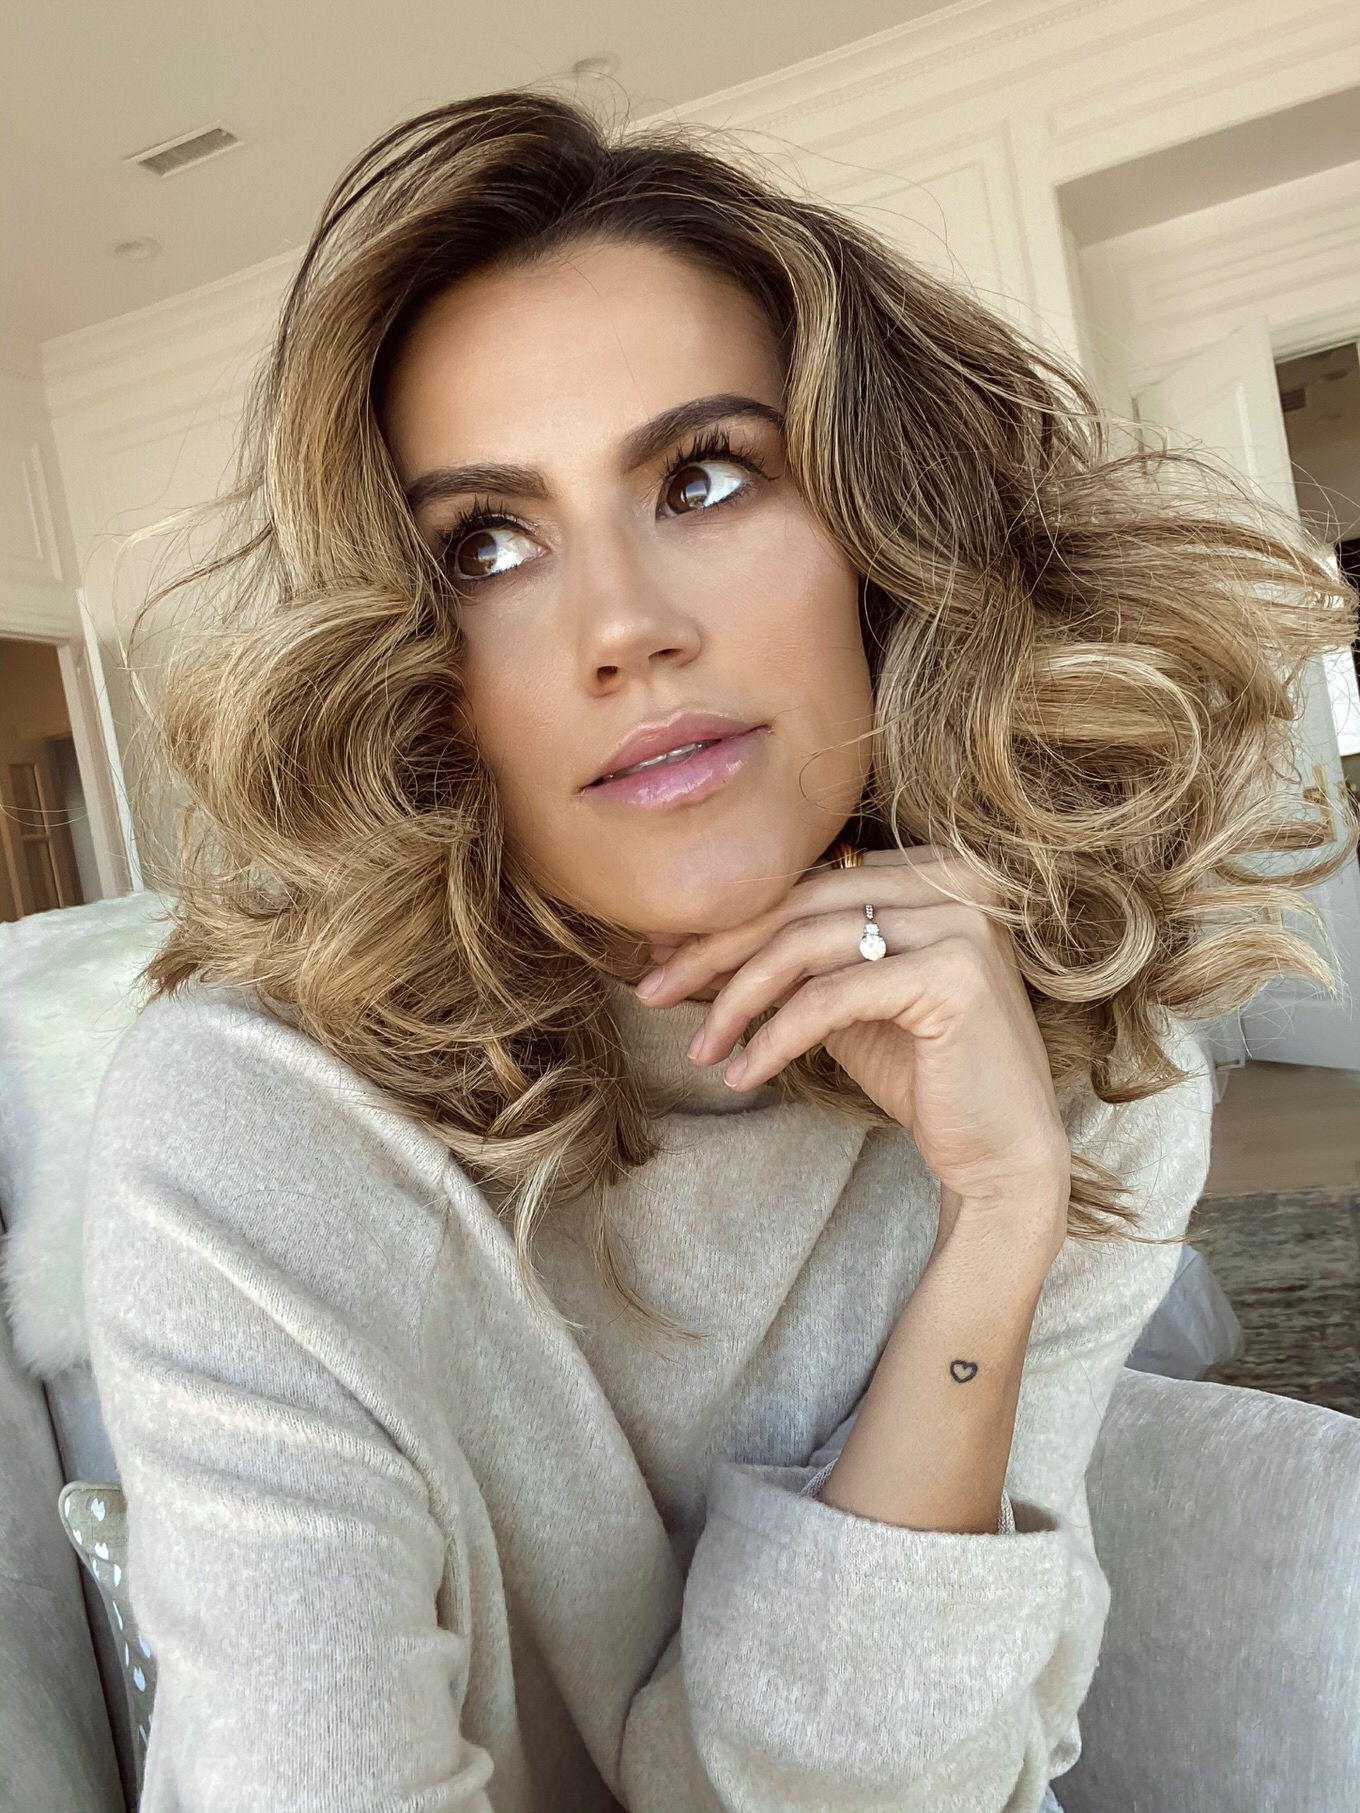
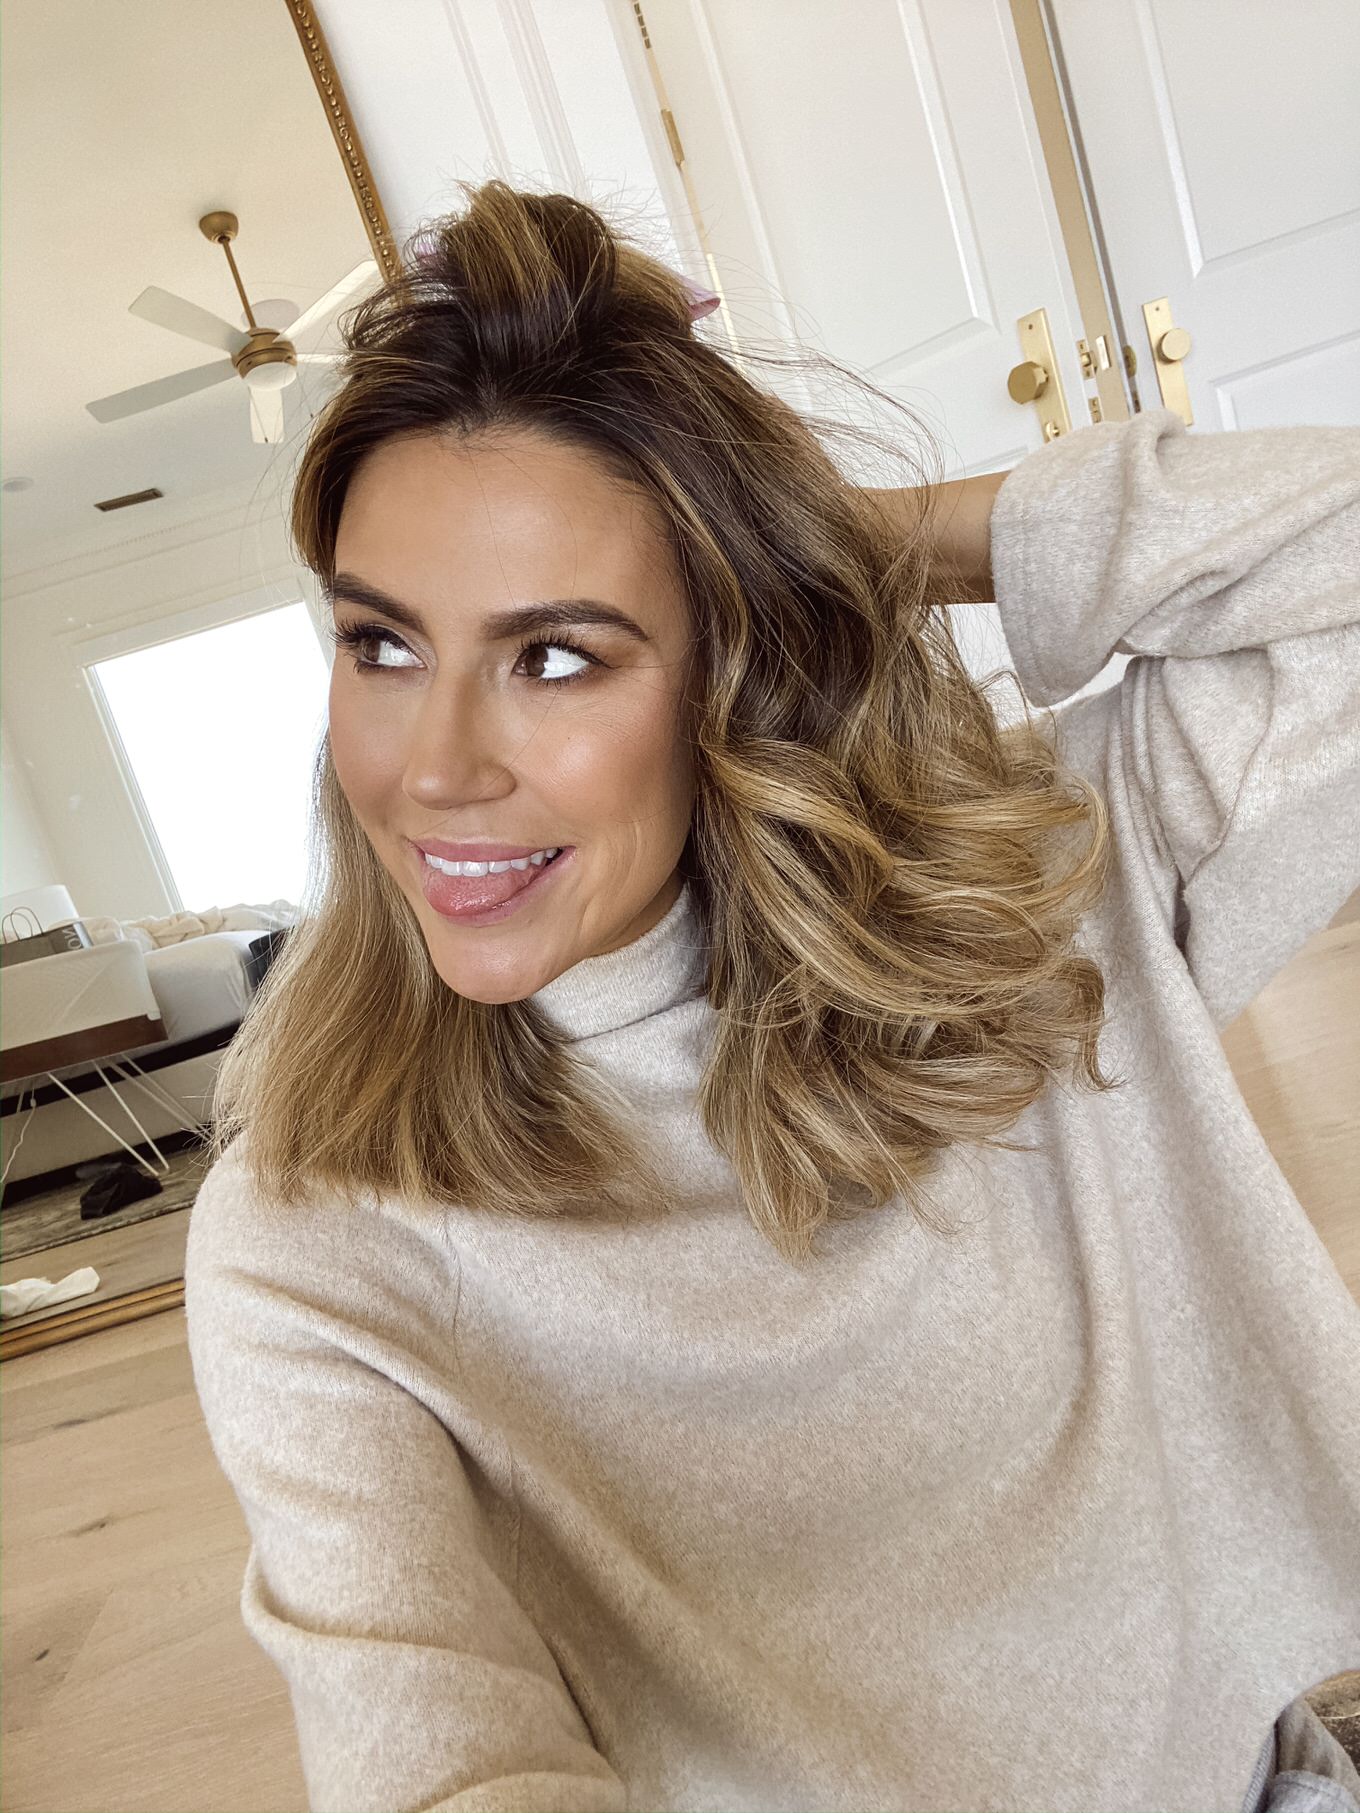
Final Touches
I love the volume and beachy look of messy waves, so after I’m done curling I always brush the curls through with a wide tooth comb. Then just add your favorite hair products (I used an anti frizz spray after I finished curling, before I brushed out my curls) and voila you’re ready to go! Head to my IGTV to see a time-lapse of me doing the whole thing 🙂
The curler is under $100! It’s such a good tool, I’ve already used it so much, I love it! Send me pics when you try it – I would love to see your hair!
Let me know if there are any other hair tutorials you guys want me to share!
XX, Christine
Wow those curls look pretty great! And a cordless hair styling tool? How genious is that!
xx Janine
https://walkinmysneaks.blogspot.com
Your hair looks amazing!
Briana
https://beyoutifulbrunette.com/
Ahhh I love how this auto-curler makes your hair look! <3 🙂
XO, Elizabeth T.
BLOG | YOUTUBE | INSTAGRAM
You look so beautiful with your new hair.
Review Belt For Man And Women
Your hair looks amazing !
xoxo, Sabrine
https://raspberriesandsequins.blogspot.com/2019/11/black-friday-beauty-deals-2019.html
wow, I’m so impressed about this! The results are fantastic.
https://www.alma-society.com
Your hait looks awesome
http://www.markagez.com/
I would love to see your hair! GBWhatsApp
Wow, that curler seems amazing, goodness knows I need help curling my hair!
Heather
http://www.arloandjoy.com
Your photos are amazing! Love your post on winter dry skin. I started using B&B hand cream and only had it for a week and might more soon. Blessings 🙂 https://77pinkfashions.blogspot.com/
Hi Christine. It looks great. Is there any hairdryer you recommend to be used along with it?
https://ehaircare.co.uk/
It makes you look new!